
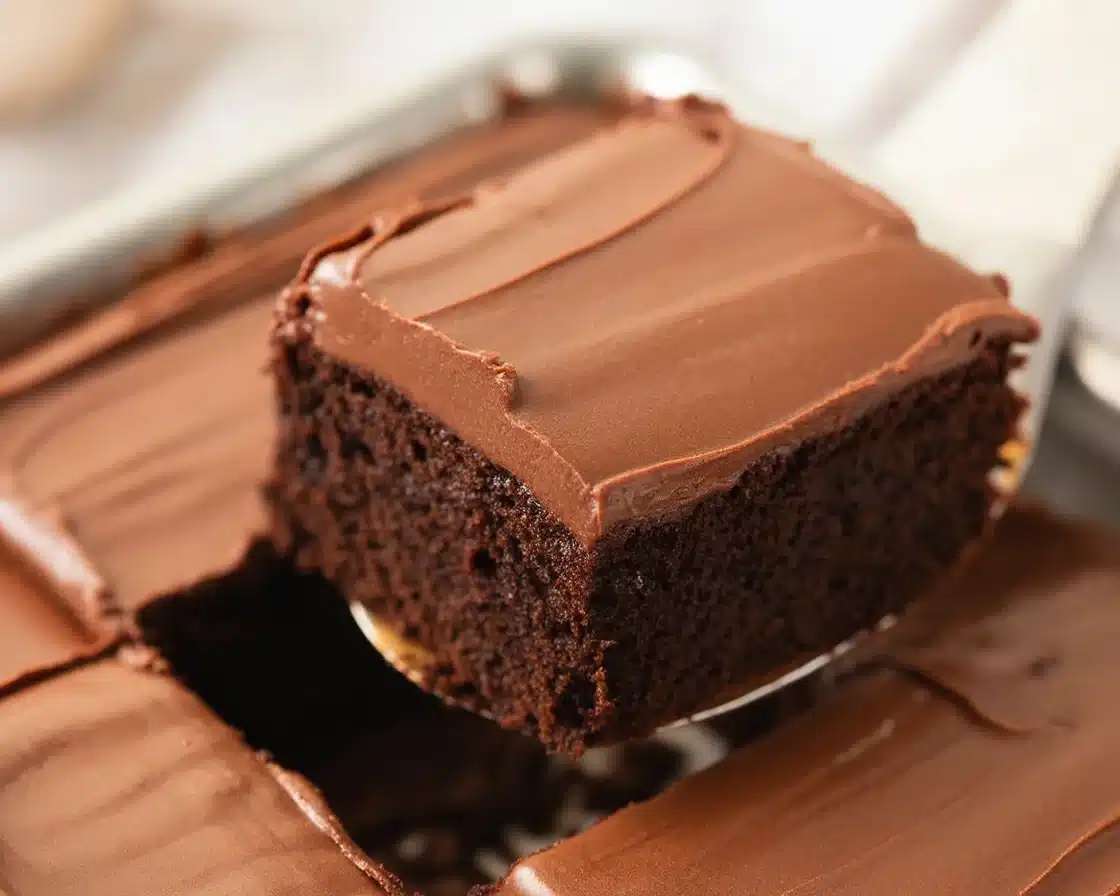
Vintage Mayonnaise Cake sounds a little wild the first time you hear it, right? I get it. But hear me out. If you’ve ever wanted a chocolate cake that tastes like it came straight from your grandma’s kitchen but with bakery-level moisture, this is it. The crumb is soft, the chocolate flavor sings, and it all comes together with pantry staples. I’m breaking down exactly how to get those moist, fudgy layers without fuss so you can bake with confidence and wow your guests. Stick with me and get ready to fall in love with a cake that’s humble, nostalgic, and totally party worthy.
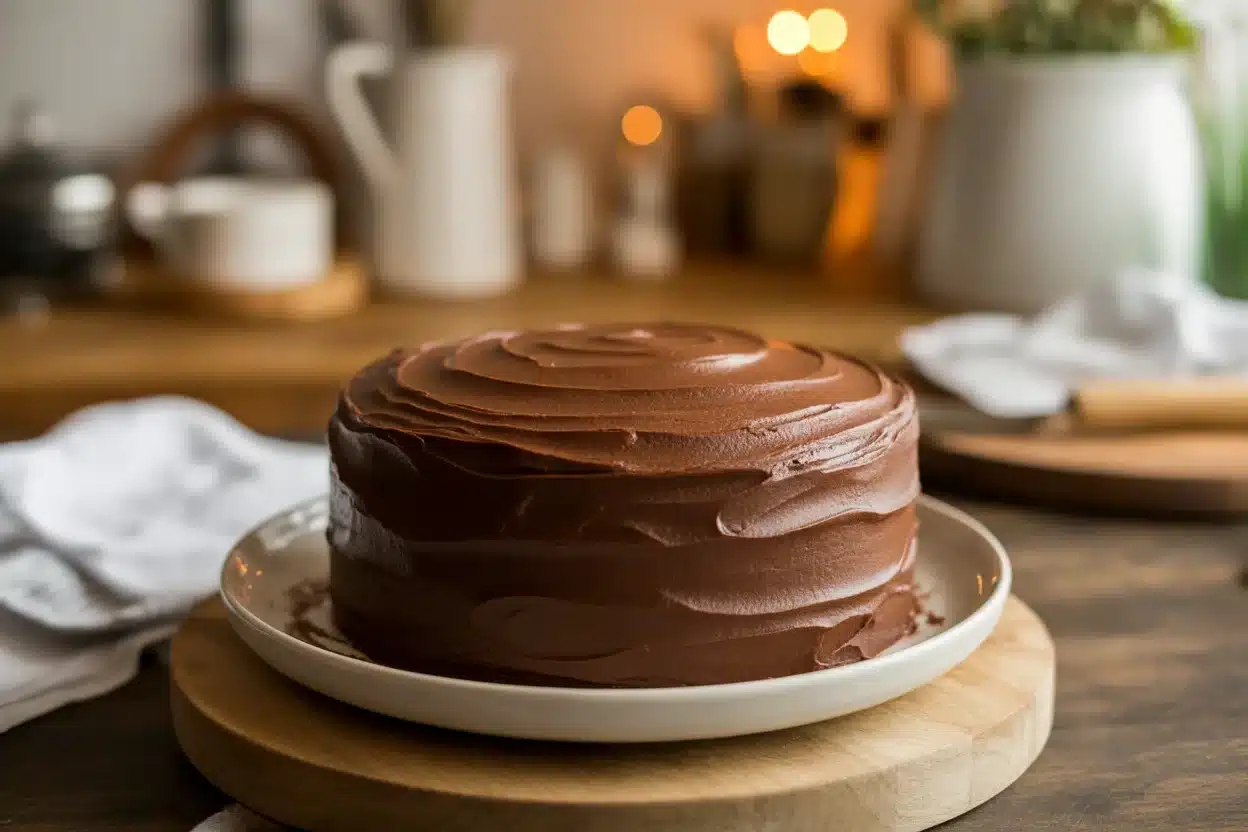
Why Mayonnaise Cake Is the Secret Ingredient for Better Chocolate Cake
Mayonnaise in cake might raise an eyebrow, but it’s actually a smart shortcut. Mayo is simply oil and eggs, both of which are used to make cake tender and rich. The oil brings moisture that doesn’t evaporate in the oven, and the eggs add structure that keeps the cake from sinking. When you whisk mayo into a chocolate batter, it melts right into the mix and creates that plush, almost velvety bite. No one will taste mayo. They’ll just ask for seconds.
What mayo really does
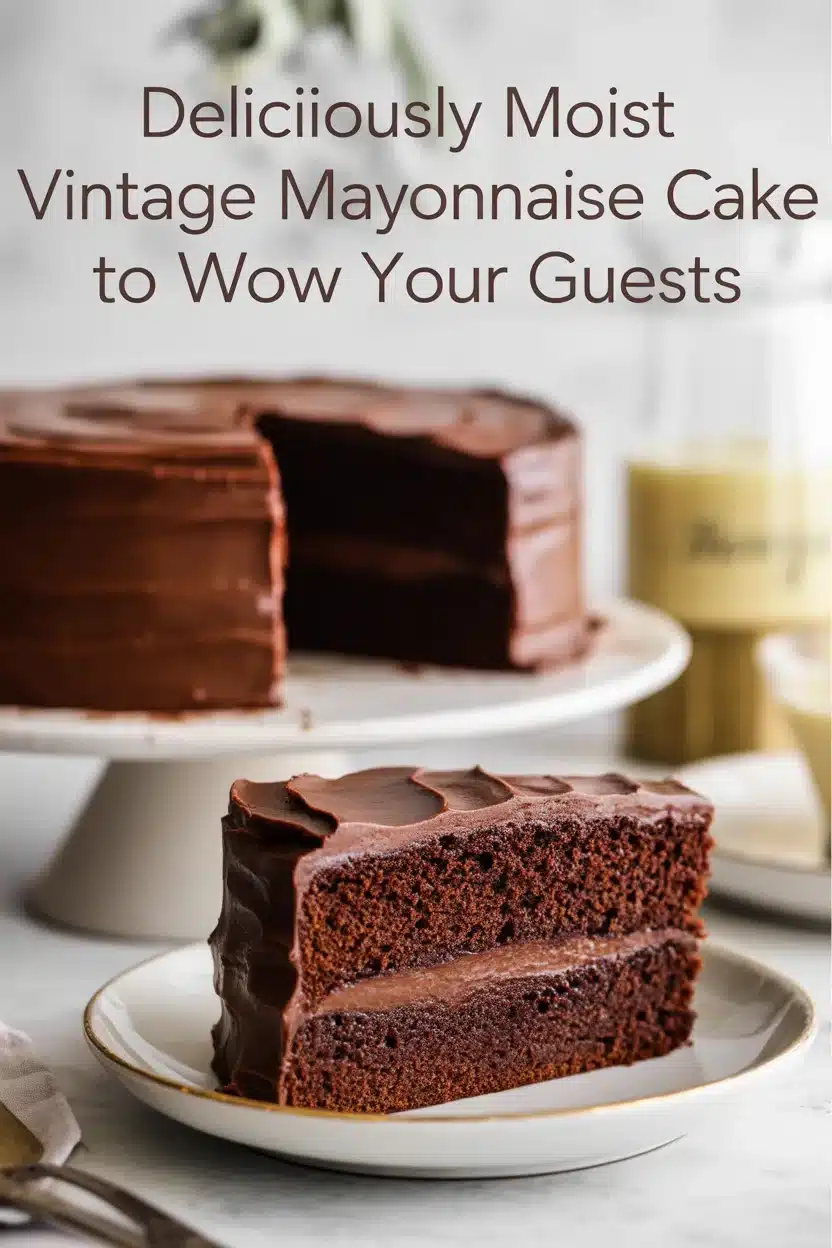
Here’s the simple version. Oil equals moisture. Eggs equal texture. Mayo combines both, which means you get a cake that stays delicious for days. Pair that with a deep cocoa base, a bit of hot coffee or hot water to bloom the cocoa, and you’ve got a tender crumb that doesn’t dry out on day two. This is why my Deliciously Moist Vintage Mayonnaise Cake to Wow Your Guests is one of the most reliable bakes I make when I’ve got company coming. It slices cleanly, holds frosting like a champ, and tastes even better the next day.
Also, mayo helps avoid overmixing. Where butter-based cakes can get tough if you mix too much, mayo-based batter stays looser, which means a tender cake even if you’re not a frequent baker.
“I brought this to a work potluck and three people asked for the recipe. No one guessed there was mayonnaise in it. It was just incredibly moist and chocolatey.”
If you love old-school recipes with a twist, you might also like these cozy bakes: best carrot cake ever for spice lovers and standout cream cheese frosting, or keep the chocolate breakfast vibes going with blueberry coffee cake muffins for weekend brunch.
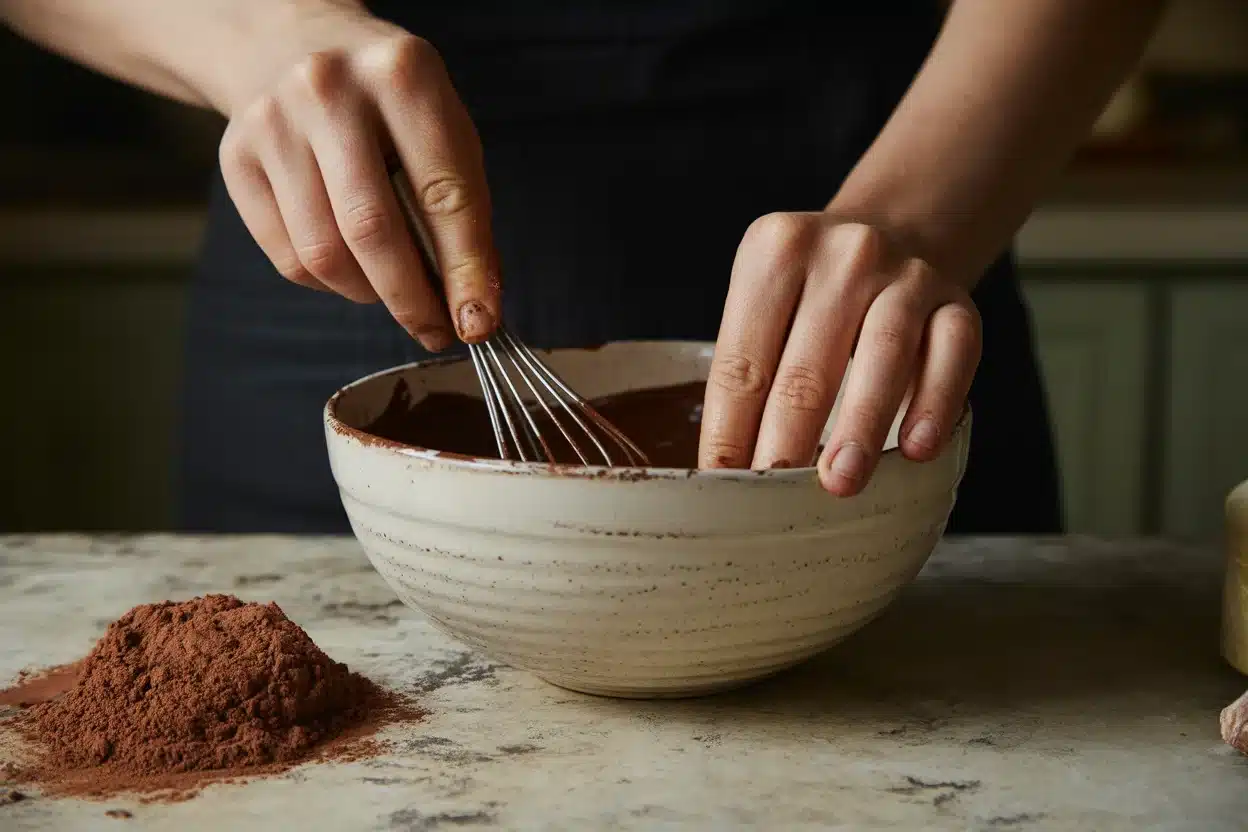
A Brief History of Chocolate Mayonnaise Cake
The story goes back to the 1930s and 1940s, when home cooks were resourceful and creative. Butter and eggs could be scarce, so people turned to pantry staples like mayonnaise to fill the gaps. It wasn’t a gimmick. It was a cost-saving trick that just happened to make incredible cake. Over time it stuck because the results were that good. You get the comfort of a cocoa cake that tastes familiar, but with a texture that feels extra plush.
I first heard about it from my great aunt, who kept a handwritten card labeled simply “mayo cake.” She swore by it for any big family birthday. And every time I make my Deliciously Moist Vintage Mayonnaise Cake to Wow Your Guests, I picture those crowded tables and the way everyone went quiet during the first bite. It’s got that kind of pull.
How it became a pantry hack
When money was tight, cooks leaned on what was on hand. Mayo offered both fat and emulsifiers that kept cakes soft without needing as much butter. The method never really left, even once pantries got fuller. It’s like other classic, clever bakes that turn simple ingredients into something special. If you’re into nostalgic sweets with modern charm, bookmark these, too: blueberry cake that’s great for afternoon tea and easy weeknight desserts.
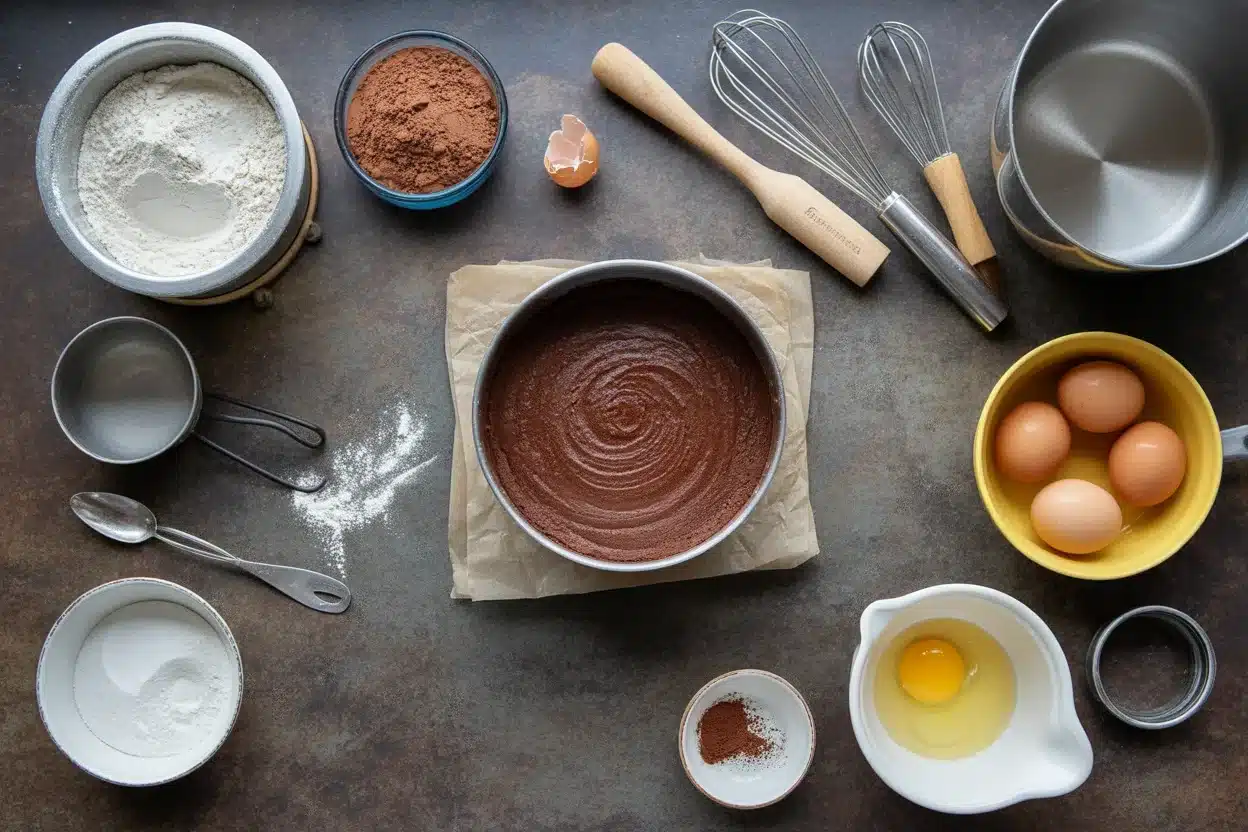
Tips & substitutions
Quick Recipe Overview
Here’s everything you need and the clearest way to get it into the oven fast.
- Dry ingredients: 2 cups all-purpose flour, 1 cup granulated sugar, 1 cup light brown sugar, 3/4 cup unsweetened cocoa powder, 2 teaspoons baking soda, 1 teaspoon baking powder, 1 teaspoon fine salt.
- Wet ingredients: 1 cup mayonnaise (full-fat, not light), 1 cup warm water or hot coffee, 2 large eggs, 2 teaspoons vanilla extract, 1/2 cup milk.
- Frosting: Your choice. A simple chocolate sour cream frosting or classic buttercream both work beautifully.
- Step 1: Preheat oven to 350°F. Grease and line two 8-inch round cake pans or one 9 by 13 pan.
- Step 2: Whisk all dry ingredients in a large bowl until no cocoa clumps remain.
- Step 3: In another bowl, whisk mayo, eggs, vanilla, milk, and warm water or coffee until smooth.
- Step 4: Pour wet into dry and stir until just combined. The batter will be pourable and glossy.
- Step 5: Bake rounds for 26 to 30 minutes or a 9 by 13 for 30 to 34 minutes, until a toothpick comes out with a few moist crumbs.
- Step 6: Cool 10 minutes in the pan, then turn out and cool completely before frosting.
Why hot coffee? It deepens the chocolate flavor without making it taste like coffee. If you prefer not to use coffee, stick with hot water and you’ll still get a rich cake.
What mayo works best? Full-fat mayonnaise delivers the best texture. Light or olive-oil mayo can work in a pinch but can change the flavor slightly. Avoid flavored mayo. You want simple and classic here.
Frosting ideas: Chocolate buttercream is a sure thing. Whipped ganache is luxe and not too sweet. If you like contrast, a salted vanilla frosting is lovely too. Sprinkle with flaky salt for a little sparkle.
Substitutions: Use sour cream in place of half the mayo for extra tang. Swap 1/4 cup of the flour for almond flour for a slightly denser, almost truffle-like bite. A teaspoon of instant espresso powder can boost the cocoa further. And if you’re planning a dessert table, these pair nicely alongside this cake: crockpot cinnamon roll dump cake for a cozy slow-cooker option on busy days.
Final note here. The batter should feel looser than a typical butter cake. That’s a good sign. It bakes up with a tender crumb and slices cleanly, which is one reason this Deliciously Moist Vintage Mayonnaise Cake to Wow Your Guests is so party friendly.
Special Equipment
You do not need anything fancy to pull this off. A couple of basic tools will help with a smooth bake and clean layers.
- Two 8-inch cake pans or one 9 by 13 pan
- Large mixing bowls and a whisk
- Offset spatula for frosting
- Cooling racks so cakes release steam and don’t get dense
- Parchment rounds for the bottoms of the pans to prevent sticking
If you plan to transport the cake, a cake carrier is worth having. For super smooth sides, chill the frosted cake for 20 minutes and use a warm spatula for a final pass. You can also keep the look rustic and swoopy. Both styles are beautiful.
Make-Ahead and Storage
This cake shines on day two. The mayo keeps the crumb soft, and the cocoa flavors settle into that deep, fudgy zone we all love. If you’re planning a party menu, bake the layers the day before, wrap them tightly once cool, and frost the next morning. You’ll end up with a chill, stress-free dessert that steals the show.
Room temperature: Keep the frosted cake covered at room temp for up to 2 days if your frosting is buttercream. If you use a dairy-heavy frosting like cream cheese, refrigerate and let slices come to room temperature before serving.
Refrigerator: Store covered for 4 to 5 days. The texture stays great. Let it sit out 20 to 30 minutes before serving for the best flavor.
Freezing: Freeze unfrosted layers tightly wrapped for up to 2 months. Thaw in the fridge overnight, then bring to room temp before frosting. Leftover frosted slices can be frozen individually. Wrap well, then thaw at room temp, uncovered, to avoid condensation making the frosting weepy.
When I plan a weekend spread, I often make this Deliciously Moist Vintage Mayonnaise Cake to Wow Your Guests along with a simple fruit dessert so folks can mix and match. If you want a vibrant, fruity counterpoint, try this bright and creamy idea: blueberry cheesecake ice cream. It scoops like a dream next to a slice of warm cake.
Common Questions
Does it taste like mayonnaise?
No. It tastes like a rich chocolate cake. Mayo is there for moisture, not flavor.
Can I use light mayonnaise?
You can, but the texture will be slightly less plush. For the best result, stick with full-fat.
What kind of cocoa should I use?
Unsweetened natural cocoa works well. Dutch-process cocoa gives a darker color and a smoother chocolate flavor. Either is delicious here.
How do I know when it’s done?
A toothpick should come out with a few moist crumbs, not wet batter. The top will spring back lightly when tapped.
Can I bake this as cupcakes?
Yes. Fill liners two-thirds full and bake at 350°F for 18 to 22 minutes. Check early to avoid overbaking.
A sweet sendoff to set you up for cake success
Now you know exactly why this old-school trick still deserves a spot in your kitchen. The combo of oil and eggs in mayo gives you a soft crumb, deep chocolate flavor, and a cake that stays tender for days. Whether you frost it tall and sleek or keep the swirly, rustic look, this Deliciously Moist Vintage Mayonnaise Cake to Wow Your Guests is a guaranteed crowd pleaser. If you want more inspiration and perspective, take a peek at this trusted take on a classic, Vintage Mayonnaise Cake – Reluctant Entertainer, and compare it with the method used for a popular Chocolate Mayonnaise Cake. Ready to preheat the oven? I can’t wait for you to try it and share a slice with someone you love.
Deliciously Moist Vintage Mayonnaise Cake

Ingredients
Dry Ingredients
- 2 cups all-purpose flour
- 1 cup granulated sugar
- 1 cup light brown sugar
- 3/4 cup unsweetened cocoa powder
- 2 teaspoons baking soda
- 1 teaspoon baking powder
- 1 teaspoon fine salt
Wet Ingredients
- 1 cup mayonnaise (full-fat, not light)
- 1 cup warm water or hot coffee
- 2 large eggs
- 2 teaspoons vanilla extract
- 1/2 cup milk
Frosting
- to taste Your choice of frosting (chocolate sour cream or classic buttercream)
Instructions
Preparation
- Preheat oven to 350°F. Grease and line two 8-inch round cake pans or one 9 by 13 pan.
- Whisk all dry ingredients in a large bowl until no cocoa clumps remain.
- In another bowl, whisk mayo, eggs, vanilla, milk, and warm water or coffee until smooth.
- Pour wet ingredients into dry ingredients and stir until just combined. The batter will be pourable and glossy.
Baking
- Bake rounds for 26 to 30 minutes or a 9 by 13 for 30 to 34 minutes, until a toothpick comes out with a few moist crumbs.
- Cool for 10 minutes in the pan, then turn out and cool completely before frosting.