
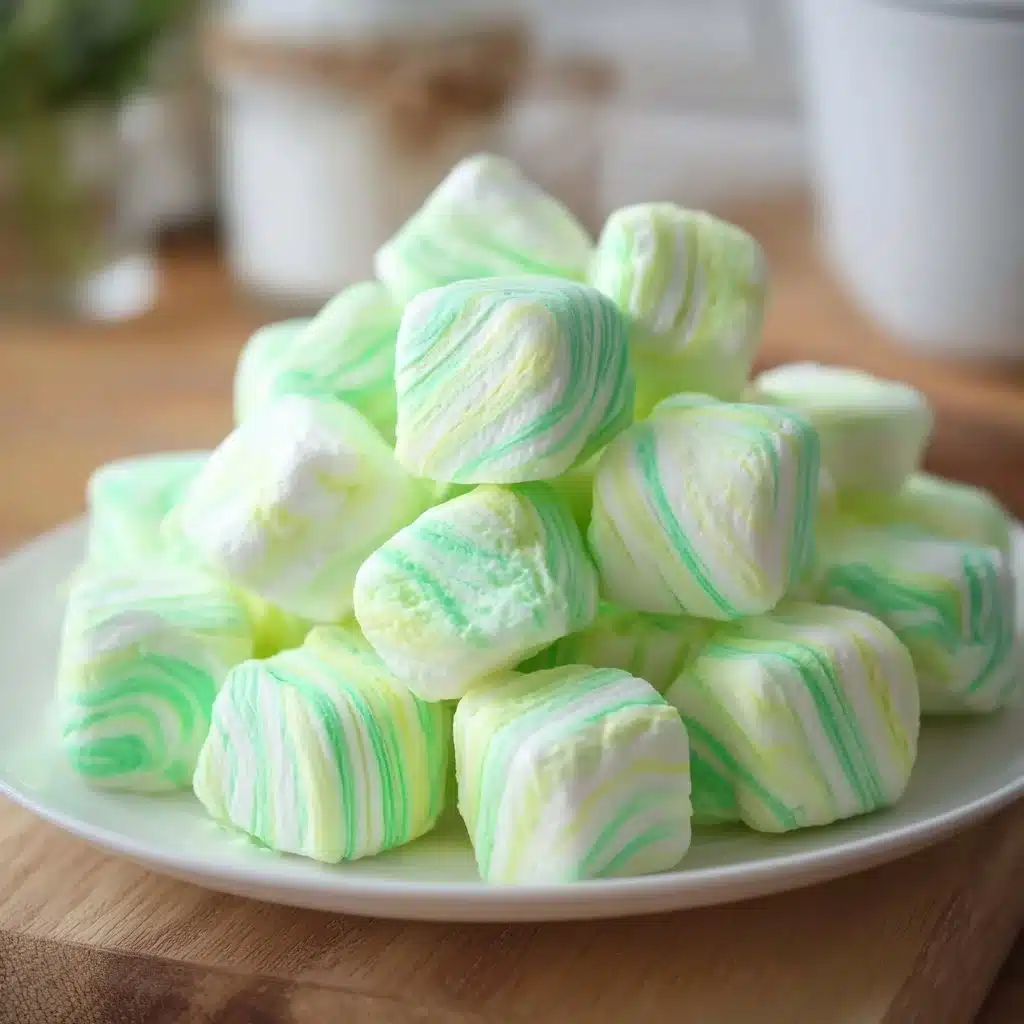
Who doesn’t love the melt-in-your-mouth goodness of homemade butter mints? With just a few simple ingredients, you can create these delightful treats that are perfect for family gatherings, special occasions, or just a sweet snack at home. Butter mints are not only a nostalgic treat but also bring warmth to any moment, filling the air with their sweet, buttery aroma. So, let’s dive in and make your very own batch of soft and delicious butter mints!
Why Make This Recipe
Making homemade butter mints comes with plenty of perks:
- Quick & Easy: Ready in under 30 minutes.
- Family Favorite: Kids and adults alike love these little bites.
- Budget-Friendly: Uses common ingredients found in your pantry.
- Customizable: Add flavors or colors to match any occasion.
This recipe stands out because it’s not just about taste—it’s about creating memories. There’s something special about making treats from scratch that wraps you in comfort and nostalgia. Whether you’re reminiscing about times spent with loved ones or celebrating new moments, homemade butter mints bring joy to every bite.
Ingredients
For the mints:
- 1 cup unsalted butter, softened
- 4 cups powdered sugar
- 1 tsp peppermint extract (or your favorite flavor)
- 1-2 tbsp milk (as needed for consistency)
- A pinch of salt
For coloring (optional):
- Food coloring (a few drops for pastel shades)
How to Make Butter Mints
- Mix the butter: In a large bowl, beat the softened butter with an electric mixer until creamy and smooth.
- Tip: Make sure your butter is at room temperature for the best texture!
- Add sugar: Gradually add the powdered sugar, continuing to mix until well combined. The mixture will be quite thick.
- Incorporate flavor: Pour in the peppermint extract and a pinch of salt, mixing until everything is evenly distributed.
- Why this step matters: The salt enhances the sweetness, giving the mints a balanced flavor.
- Adjust consistency: If the mixture feels too dry, add a tablespoon of milk at a time until it’s soft enough to handle but not sticky.
- Color your mints: If you’d like to tint the dough, add a few drops of food coloring and mix thoroughly until you reach your desired shade.
- Shape the mints: Use your hands to roll the mixture into small balls, about the size of a marble. Flatten them slightly for that classic mint look.
- Chill: Place the shaped mints on a parchment-lined baking sheet and pop them in the refrigerator for about 30 minutes to firm up.
- This helps them hold their shape better.
How to Serve Butter Mints
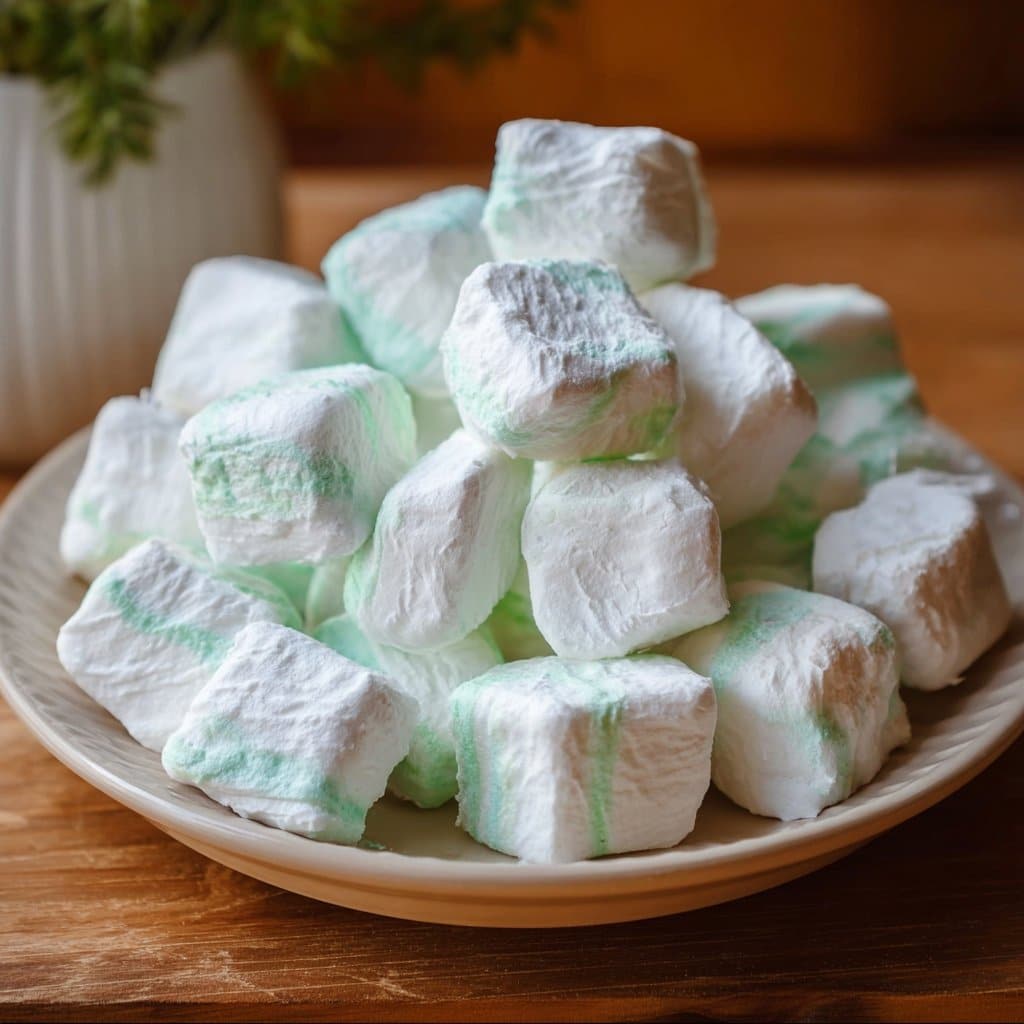
- Presentation: Arrange your butter mints on a decorative plate and dust with a little extra powdered sugar for a lovely finish.
- Garnishes: Consider adding a sprig of mint or some edible flowers for a fresh touch.
- Pairing ideas: These mints go well with coffee or tea, making them a perfect companion for your afternoon break.
How to Store Butter Mints
Store your butter mints in an airtight container at room temperature for up to two weeks. If you want to keep them longer, you can keep them in the fridge for up to a month or freeze them for several months. To enjoy, simply let them sit at room temperature for a few minutes before serving.
Tips to Make Butter Mints
- Avoid sticky dough: If your dough is too sticky, add a little more powdered sugar until it’s manageable.
- Experiment with flavors: Try different extracts like vanilla, chocolate, or orange for a fun twist!
- Don’t skip the chilling: Chilling helps the mints retain their shape; it’s essential!
- Keep it clean: Use cocoa powder or powdered sugar on your hands while rolling to prevent sticking.
Variation
- Gluten-Free: This recipe is naturally gluten-free, making it a great treat for everyone!
- Dairy-Free: Swap the unsalted butter for a plant-based alternative to make it dairy-free.
FAQs
Can I use regular butter instead of unsalted?
Yes, but keep in mind that unsalted butter allows you to better control the saltiness of your mints.
How can I store these mints for longer?
Use an airtight container and keep them in the fridge for up to a month or freeze them for several months. Just thaw them at room temperature before enjoying.
What if my mints are too dry?
You can simply add a teaspoon of milk at a time to rehydrate the mixture until it reaches your desired consistency.
Conclusion
Homemade butter mints are a sweet, indulgent treat that anyone can make with just a handful of ingredients. They not only taste amazing but also bring back cherished memories and create new ones with every batch. I’d love to hear your thoughts! Please leave a comment and rate this recipe. If you enjoyed making these, share them on Pinterest or Facebook to spread the love! What twist did you try? Let us know below!
Butter Mints

Ingredients
For the mints
- 1 cup unsalted butter, softened Make sure your butter is at room temperature for the best texture.
- 4 cups powdered sugar Add more if needed for texture.
- 1 tsp peppermint extract Or your favorite flavor.
- 1-2 tbsp milk As needed for consistency.
- 1 pinch salt Enhances the sweetness.
For coloring (optional)
- Food coloring A few drops for pastel shades.
Instructions
Preparation
- In a large bowl, beat the softened butter with an electric mixer until creamy and smooth.
- Gradually add the powdered sugar, continuing to mix until well combined.
- Pour in the peppermint extract and a pinch of salt, mixing until everything is evenly distributed.
- If the mixture feels too dry, add a tablespoon of milk at a time until it is soft enough to handle but not sticky.
- If you’d like to tint the dough, add a few drops of food coloring and mix thoroughly until you reach your desired shade.
- Use your hands to roll the mixture into small balls, about the size of a marble. Flatten them slightly for that classic mint look.
- Place the shaped mints on a parchment-lined baking sheet and pop them in the refrigerator for about 30 minutes to firm up.
Serving
- Arrange your butter mints on a decorative plate and dust with a little extra powdered sugar for a lovely finish.
- Consider adding a sprig of mint or some edible flowers for a fresh touch.