
If you’re looking for a meal that combines the comfort of a grilled cheese and the heartiness of a burger, this Grilled Cheese Patty Melt is the answer! It’s quick to make, incredibly satisfying, and sure to impress anyone who takes a bite. This delicious mix of crispy bread, melty cheese, and juicy beef patty is everything you want in a cozy meal. Let’s dive into why this recipe should be your new go-to!
Why You’ll Love This Recipe
- Quick & Easy: You can whip this up in just about 20 minutes!
- Simple Ingredients: Just a few staples make a flavor-packed dish.
- Perfect for Any Occasion: Whether it’s lunch, dinner, or a snack, it’s always a hit.
- Crowd-Pleaser: Serve it to friends or family, and everyone will come back for more.
- Unbelievably Delicious: The blend of flavors and textures is truly irresistible.
What sets this recipe apart is the unbeatable combination of crisp, buttery bread and gooey cheese hugging a perfectly cooked burger patty. It’s comfort food that brings a smile every time you enjoy it!
Ingredients Needed
- For the base:
- 2 slices of bread (your choice, but hearty types work best)
- 1 burger patty (beef or your favorite alternative)
- For the cheesy goodness:
- 2 slices of cheese (try American, cheddar, or any melty favorite)
- For cooking:
- Butter (unsalted, softened for easy spreading)
- Salt and pepper (to taste)
How to Make Grilled Cheese Patty Melt
- Heat the Skillet: Start by placing a skillet over medium heat. Add a tablespoon of butter to the pan to melt.
- Cook the Burger Patty: Once the skillet is hot, add the burger patty. Cook it thoroughly, seasoning with salt and pepper to enhance the flavor. Aim for about 4-5 minutes on each side, depending on the thickness.
- Prepare the Bread: While the patty cooks, take another skillet and butter one side of each slice of bread generously.
- Assemble the Sandwich: When the burger is cooked, place one slice of bread, butter-side down, in the skillet. Layer the cooked burger patty followed by the cheese slices on top.
- Complete the Sandwich: Place the second slice of bread on top, with the butter-side facing up.
- Grill to Perfection: Grill until the bottom slice is golden brown, then carefully flip the sandwich to grill the other side until the cheese is melted and gooey.
- Slice and Serve: Once done, remove the sandwich from the skillet, slice it in half, and get ready to enjoy!
Serving and Storage Tips
This Grilled Cheese Patty Melt is great served hot right from the skillet. Pair it with a side of crispy fries, a simple salad, or some pickles for a perfect meal.
For storage, keep any leftovers in an airtight container in the fridge for up to 2 days. To reheat, place it back in the skillet over low heat until warmed through, adding a little butter if needed for extra crispiness.
Helpful Notes
- Experiment with Cheese: Try mixing different types of cheese for a unique flavor. Mozzarella, pepper jack, or gouda also work beautifully!
- Add Veggies: For an extra twist, slice up some tomato or add sautéed onions inside the melt.
- Use Whole Grain Bread: Whole grain or sourdough bread elevates the flavor and provides more texture.
Conclusion
This Grilled Cheese Patty Melt is a winner for its simplicity and flavor. It brings the ultimate comfort while being quick enough for a busy day. If you try this recipe, please drop a comment and rate it with stars! We’d love to hear what variations you’ve attempted. Share your delicious creation on social media, and let’s spread the joy of cooking together!
Frequently Asked Questions
Can I use a different type of cheese?
Absolutely! Feel free to use any cheese you enjoy. Mozzarella, provolone, or gouda are excellent choices.
How do I make this gluten-free?
To make this dish gluten-free, opt for gluten-free bread for the sandwich while ensuring your burger patty is also gluten-free.
Is this recipe freezer-friendly?
Yes, you can freeze the cooked patty melt, but for best quality, consume it fresh. If freezing, wrap it tightly and store for up to 1 month. Reheat thoroughly before serving.
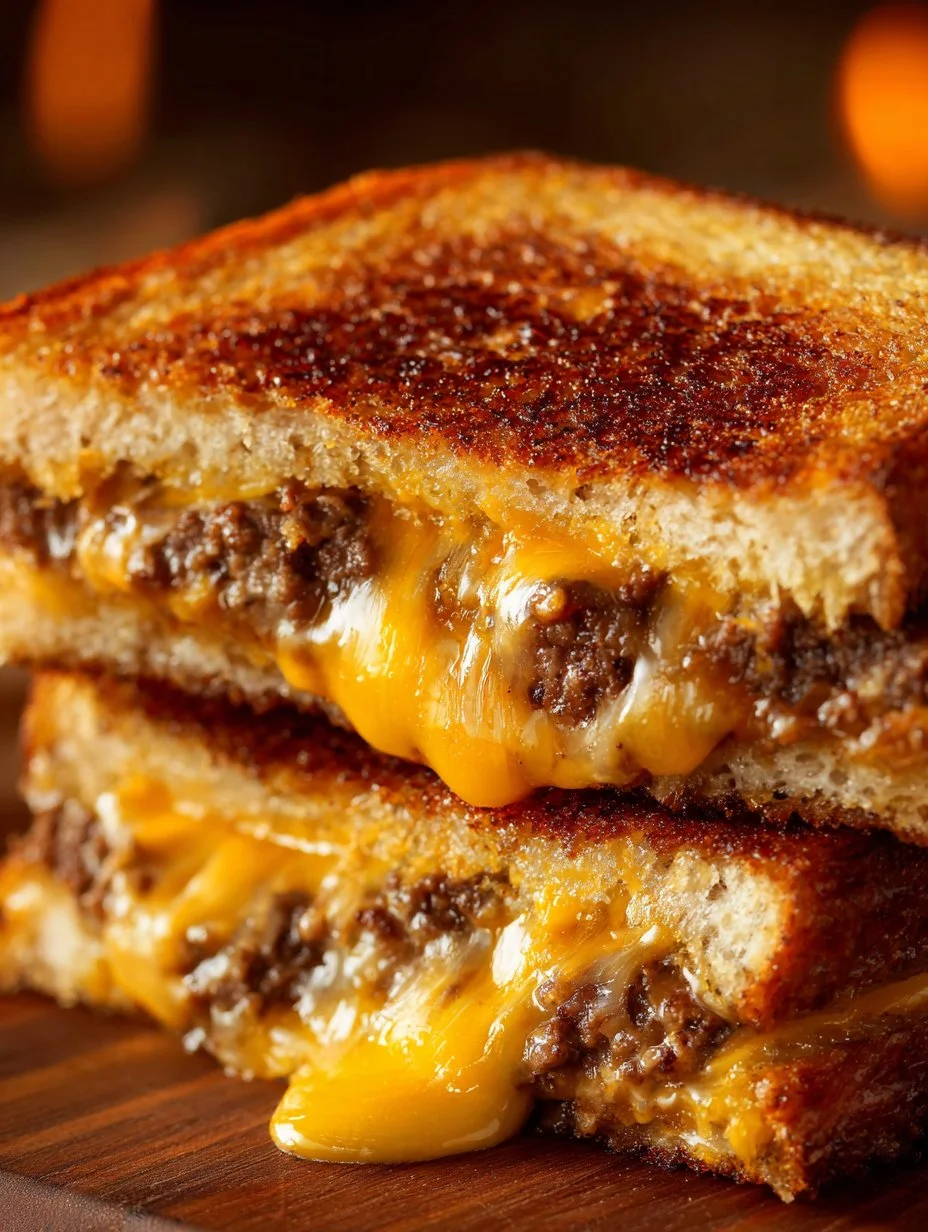
Grilled Cheese Patty Melt

Ingredients
For the base
- 2 slices slices of bread (hearty types work best) Your choice of bread
- 1 patty burger patty (beef or your favorite alternative) Can substitute with veggie alternative
For the cheesy goodness
- 2 slices slices of cheese (American, cheddar, or any melty favorite) Experiment with different types of cheese
For cooking
- 1 tablespoon butter (unsalted, softened for easy spreading) More butter may be needed for grilling
- Salt and pepper To taste
Instructions
Preparation
- Start by placing a skillet over medium heat. Add a tablespoon of butter to the pan to melt.
- While the skillet is heating, butter one side of each slice of bread generously.
Cooking
- Once the skillet is hot, add the burger patty. Cook it thoroughly, seasoning with salt and pepper to enhance the flavor. Aim for about 4-5 minutes on each side, depending on the thickness.
- When the burger is cooked, place one slice of bread, butter-side down, in the skillet. Layer the cooked burger patty followed by the cheese slices on top.
- Place the second slice of bread on top, with the butter-side facing up.
- Grill until the bottom slice is golden brown, then carefully flip the sandwich to grill the other side until the cheese is melted and gooey.
- Once done, remove the sandwich from the skillet, slice it in half, and get ready to enjoy!