
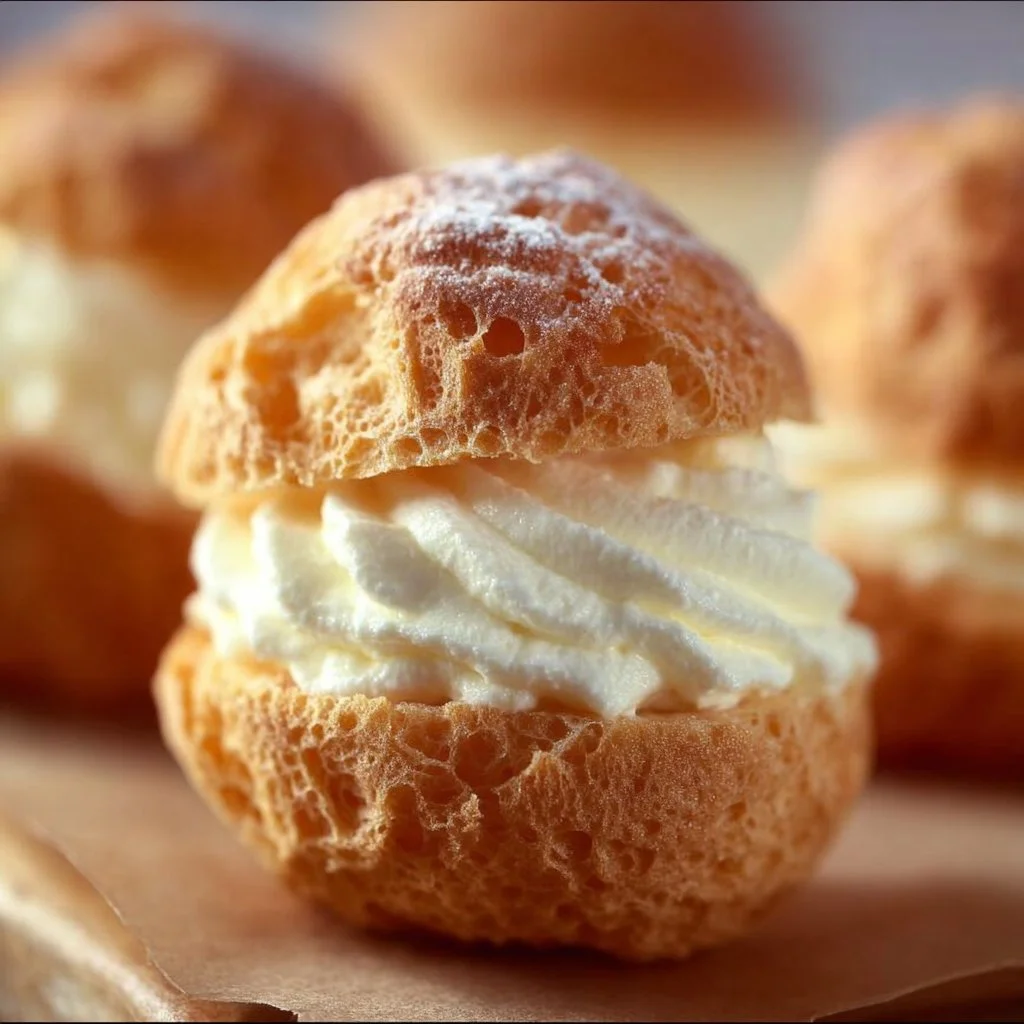

Classic French Cream Puffs
Classic French Cream Puffs are a timeless, melt-in-your-mouth treat that feels fancy but is totally easy to make at home. These little golden puffs turn out crispy outside and fluffy inside, loaded with a creamy, vanilla pastry filling that tastes like a cozy bakery morning. They bake up quick and look impressive on any dessert table. Follow this recipe and you’ll get perfect, homemade cream puffs every time.
Try one alongside something savory like air fryer cheesy tortilla garlic bread for a fun mix of flavors.
Why This Classic French Cream Puffs Will Become Your New Favorite
- ⏱️ Quick & Easy (under 60 minutes from start to finish).
- 👨👩👧👦 Family Approved — kids love the flaky shell and creamy center.
- 🥇 Better Than Store-Bought — fresher, lighter, and far more satisfying.
- 🧊 Freezer-Friendly — freeze baked shells for quick desserts later.
- 🌱 Customizable — swap vanilla for chocolate or add citrus zest for twisty flavor.
They bring that warm, nostalgic Sunday-morning feeling with every bite. Let me show you how simple it really is.
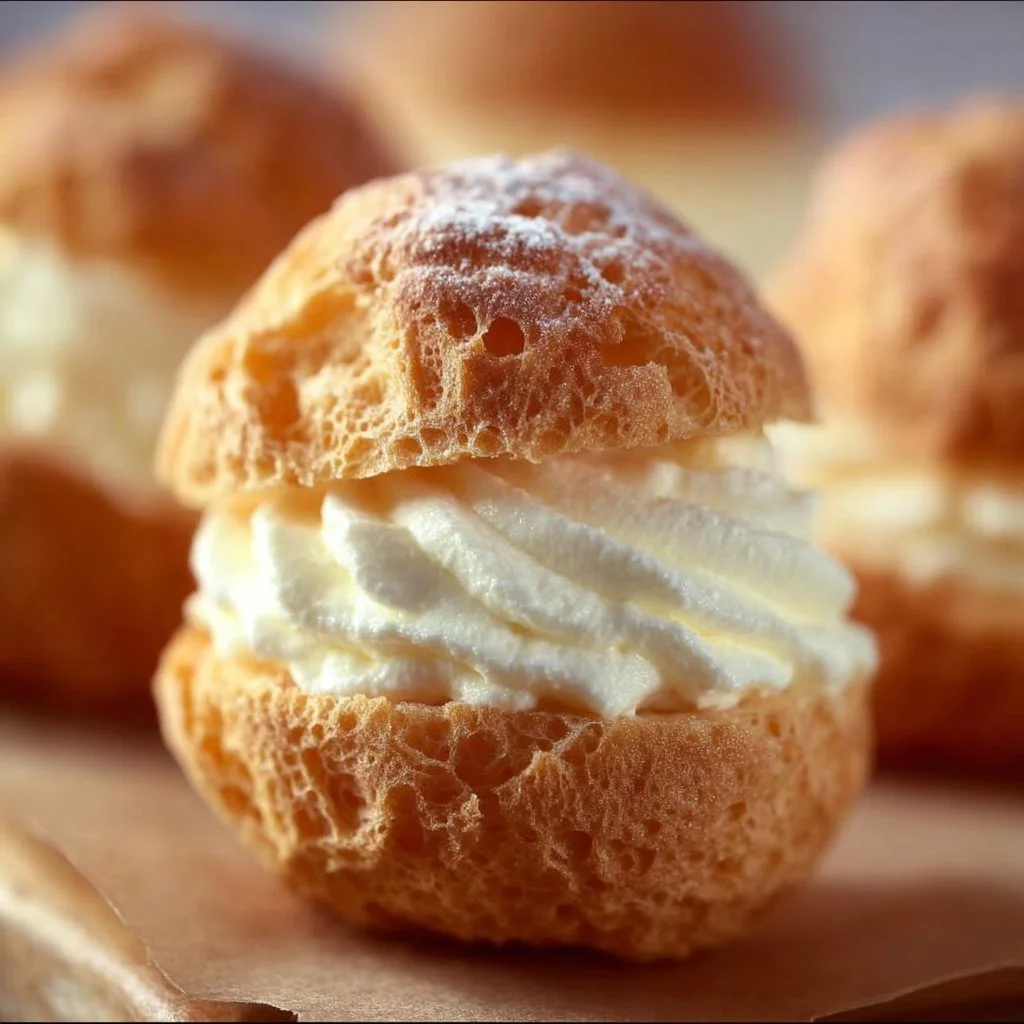
Ingredients for Classic French Cream Puffs
For the Base (choux pastry)
- 1 cup water (room temperature)
- 1/2 cup unsalted butter (cubed)
- 1 cup all-purpose flour (sifted)
- 1/4 teaspoon salt (or to taste)
- 4 large eggs (room temperature — key ingredient)
For the Pastry Cream
- 1 cup milk (whole for best flavor)
- 1/2 cup granulated sugar
- 1/4 cup cornstarch
- 1 vanilla bean or 1 teaspoon vanilla extract (vanilla bean gives extra depth)
- 2 egg yolks (room temperature)
For the Filling
- 1 cup heavy cream (cold, for whipping)
Notes: (butter softened) (eggs room temperature) (or substitute vanilla extract).
How to Make the Best Homemade Classic French Cream Puffs
Ready to make Classic French Cream Puffs? Follow these simple, step-by-step directions for flaky shells and creamy filling.
- Preheat your oven to 400°F (200°C) and line a baking sheet with parchment paper.
- In a saucepan, bring the water, butter, and salt to a rolling boil. This is what gives it that golden crust.
- Remove from heat and stir in the flour until the mixture pulls away from the sides of the pan and forms a smooth ball. Work quickly to avoid lumps.
- Let the dough cool slightly, then beat in the eggs one at a time until the batter is smooth and glossy. The batter should fall slowly from the spoon.
- Pipe or spoon small mounds onto the baking sheet, spacing them well, and bake for about 25 minutes until golden and puffed. Do not open the oven while they rise.
- For the pastry cream, whisk together the milk, sugar, cornstarch, and vanilla bean (scraped) in a saucepan. Scrape the vanilla seeds for the best aroma.
- Cook over medium heat, stirring constantly until the mixture thickens, then whisk in the egg yolks and cook one minute more before cooling completely. Strain if you want an ultra-smooth cream.
- Whip the heavy cream until soft peaks form and fold it gently into the cooled pastry cream. This gives you the light, creamy filling.
- Cut the tops off the cooled choux buns, fill with the pastry cream using a piping bag, and replace the tops.
- Serve immediately and enjoy your homemade, creamy, melt-in-your-mouth puffs.
You’ll know they’re ready when the shells are deep golden and the kitchen smells buttery and vanilla-rich.

How to Serve Classic French Cream Puffs
Serve these Classic French Cream Puffs with a dusting of powdered sugar for a simple finish. Pair with espresso or a light tea for a perfect afternoon treat. For a fun spread, place them on a tiered stand with fresh berries and a drizzle of chocolate sauce for the adults.
You can also serve them beside lighter bites like air fryer chicken mozzarella wraps to balance sweet and savory.
How to Store Classic French Cream Puffs
Fridge: Store filled puffs in an airtight container for up to 2 days — the shells soften over time.
Freezer: Freeze baked, unfilled shells in a sealed bag for up to 1 month; thaw at room temperature and fill when needed.
Reheating: Re-crisp shells in a 350°F oven for 5–7 minutes before filling — oven is best; avoid the microwave to keep shells crispy.
Pro Tips to Nail This Classic French Cream Puffs Every Time
- Use room-temperature eggs for the choux — they blend easier and give better rise.
- Don’t open the oven during baking — steam helps them puff.
- Cool pastry cream completely before folding with whipped cream to keep it stable.
- Pipe equal-sized mounds for uniform baking and a pretty plate.
- Strain the pastry cream for a silky-smooth, restaurant-quality texture.
Easy Variations to Try
- Gluten-free: Use a 1:1 gluten-free flour blend and add an extra egg if the dough seems stiff.
- Chocolate-filled: Stir melted dark chocolate into the pastry cream for a rich twist.
- Seasonal: Add lemon zest to the cream in spring or cinnamon to the shells for fall flair.
Frequently Asked Questions
Can I make Classic French Cream Puffs ahead of time?
Yes. Bake shells ahead and freeze them unfilled. Fill them the day you plan to serve for the best texture.
What can I substitute for eggs?
You can try a flax egg for choux, but texture will change and rise may be reduced; for best results use real eggs.
Why did my Classic French Cream Puffs turn out flat?
Most likely you opened the oven too soon or the dough had too much moisture. Make sure the batter is smooth and bake without peeking.
Can I freeze leftover Classic French Cream Puffs?
Yes. Freeze baked, unfilled shells in a sealed bag for up to 1 month and thaw before filling.
You’re Going to Love This Classic French Cream Puffs
These Classic French Cream Puffs make any day feel special. They’re crispy, creamy, and genuinely simple to pull off with a little focus. If you try them, please leave a ⭐ star rating and a short comment so others can find this cozy, homemade favorite. 📌 Don’t forget to Pin this recipe so you never lose it! Share it with a friend on Facebook who needs this in their life. What’s your favorite twist on this recipe? Tell me in the comments!
Conclusion
For a classic reference on technique and variations, check out Choux à la Crème (Vanilla Cream Puffs) | Ana’s Baking Chronicles. Pin this recipe!